Hello everyone!
As some of you may know, due to some health issues I had to cut my holiday card series short. I was super disappointed, because there were so many goodies I never got to play with. So when I saw the blog post about #GetCrackingOnChristmas by Jen Shurkus I knew I had to participate! That way I will have a stack of holiday cards ready to go once Christmas rolls around. So on the third Thursday of every month I will share a holiday card or project to get cracking early this time around!
So for my very first project I decided to make a shadow box card using the tutorial by Jennifer McGuire! I used the fabulous “Christmas is Coming” and “O Christmas Tree” stamp sets by Hello Bluebird.
First, I stamped all my images onto Neenah cardstock and colored them in using Copic markers. I really love the look of Copics and a while back I invested in some color combinations, but so far I have been too intimidated to really give them a go. I took a Copic coloring class with Online Card Classes a few months ago and now I finally decided to actually color images for my card! So far I am really enjoying using them. I still have lots to learn but it’s been fun 😍 I then cut out all of the images using my Brother Scan’n’Cut.

Then it was time to tackle the mechanism. Jennifer has an amazing tutorial on it so I watched it and then gave it a go. I cut a piece of 8.5 x 11″ Lawn Fawn Ballet Slippers cardstock in half so I ended up with two panels measuring 8.5 x 5.5″. Then I scored one of the panels at 4 1/4″, folded it along the score line and cut off 1/2 ” on one side. The other panel was scored at 1/2, 4 1/4 and 4 3/4″ and folded along all the score lines to form the inside shadow box. I added one strip of Scor tape to the 1/2″ flap and two strips to the inside of the flap of the first panel where I cut off the 1/2″. It’s hard to explain, but I show it in the video as well! Then I used a stitched rectangle die to cut a window into the second panel between the two score lines to create the opening for my shadow box. It’s definitely best to decorate the inside before assembling the card so that is what I did.
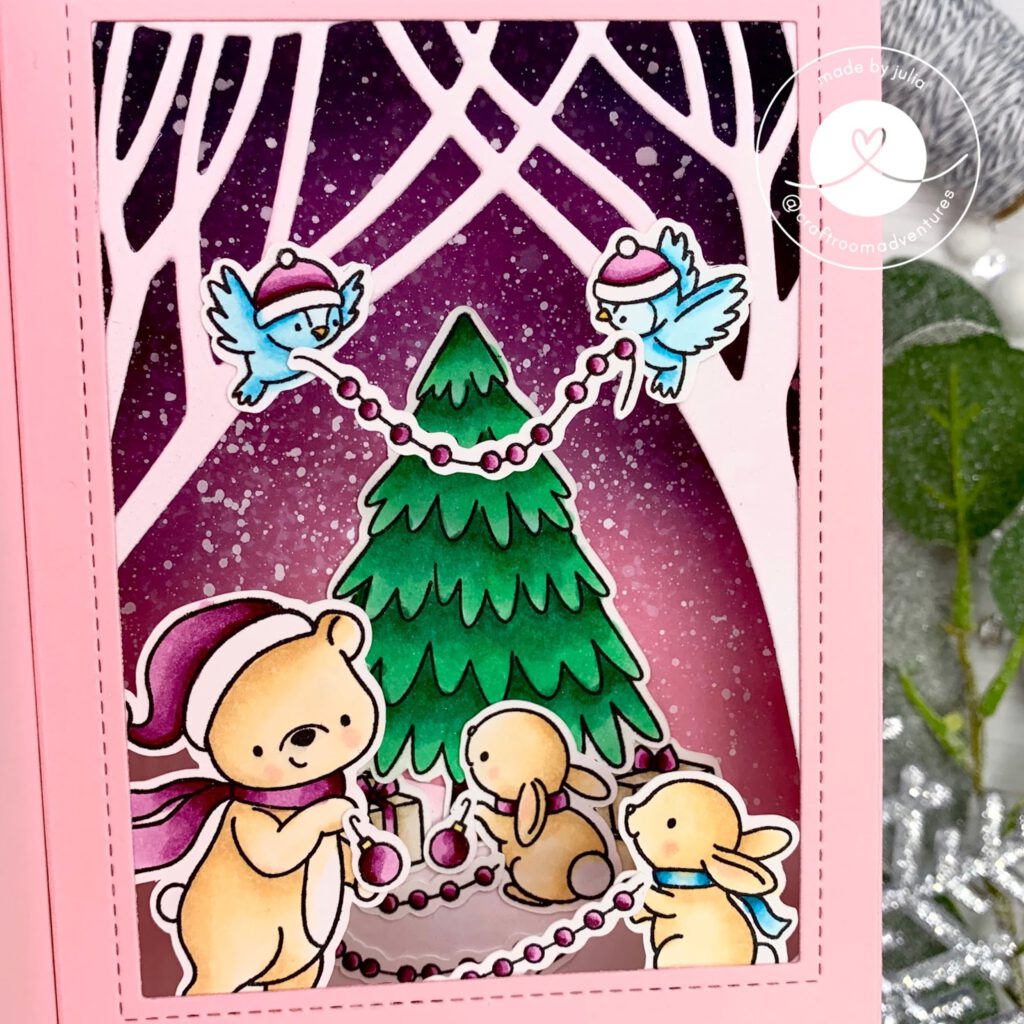
I ink blended Spun Sugar, Worn Lipstick, Seedless Preserves and Black Soot Distress Oxide on the inside of the shadow box and also on the front of the first panel directly onto the pink cardstock to avoid adding any extra bulk. Then I splattered some water and white paint on it to create the look of snow. I die cut two hills using the Grassy Knoll dies and the Winter Woods Overlay out of white cardstock and ink blended a bit of Spun Sugar Oxide onto them and used some shimmer spray for added sparkle as well. I adhered the hill on the inside using liquid glue. I cut down the tree overlay to fit behind the opening and adhered it as well.
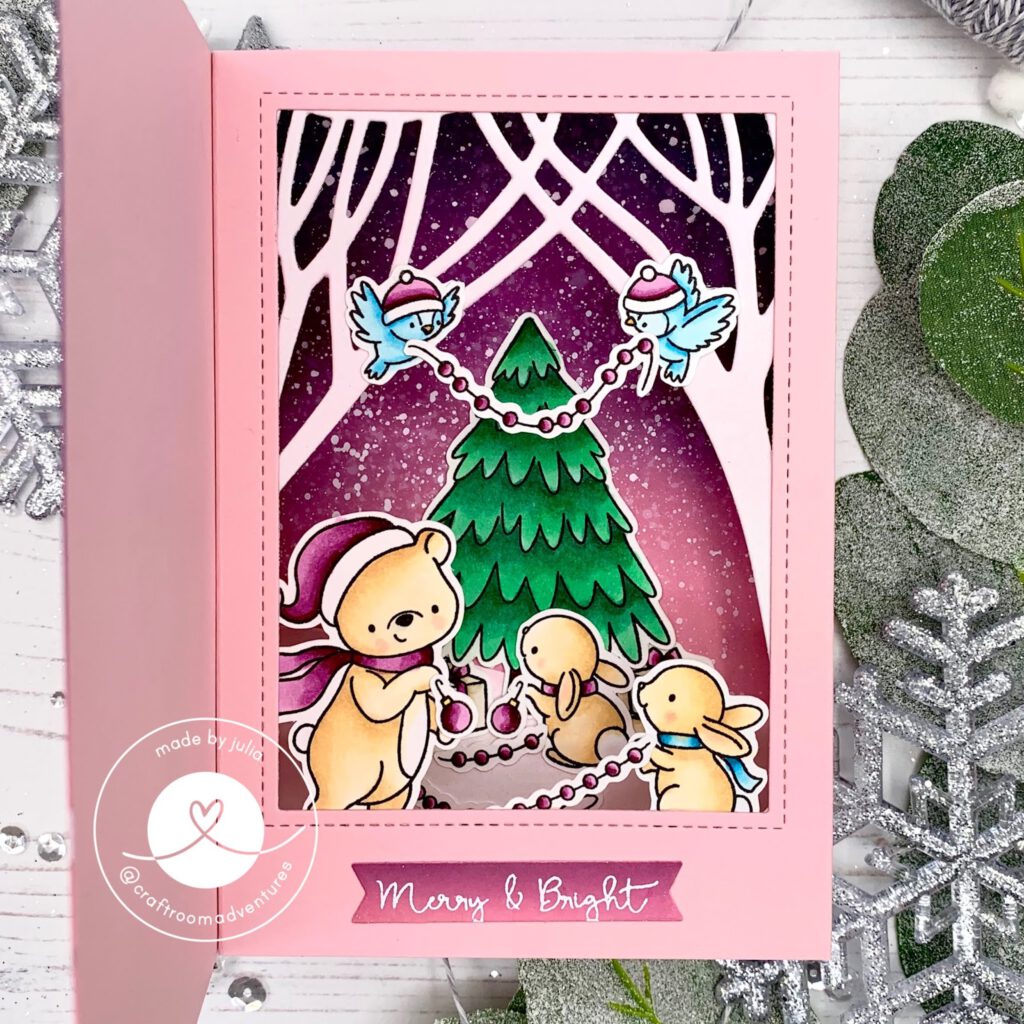
After that I added all my images using liquid glue. Some directly to the back of the box and some to the frame to create dimension. Then it was time to assemble the card. I removed the backing of the 1/2″ flap placed the panel right inside the other one (the short flap at the back) and I closed the card, making sure to press down on the adhesive. Then I turned the card over, removed the backing of the other two strips of glue tape and closed the card again. (It’s much easier to see in the video!). And this forms your inside shadow box! I also ink blended a strip of cardstock with the colors from before and die cut it with the banner die from the Stitched Tag Builder. I heat embossed the sentiment from Christmas is Coming onto it in white and added it to the inside of my card.
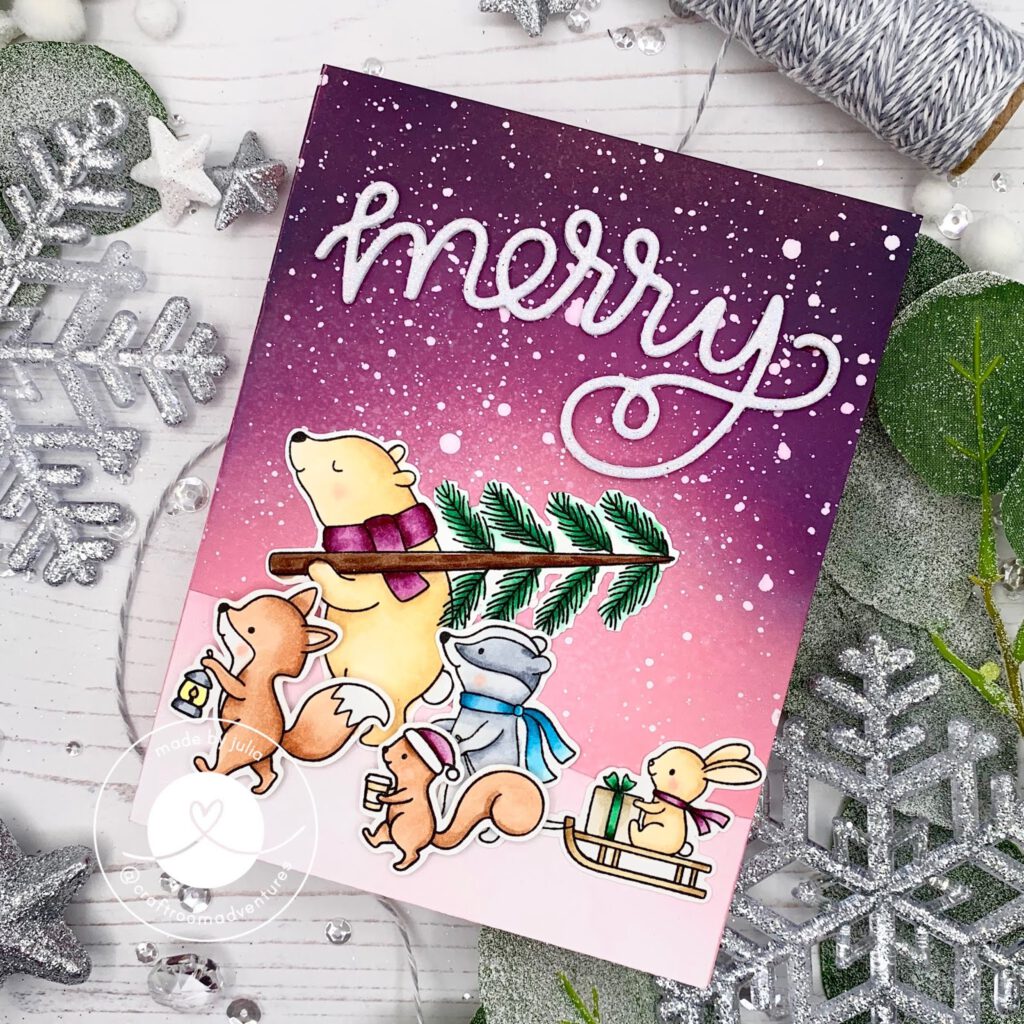
For the front of the card, I die cut the “merry” from the Christmas Words #1 4 times – 3x from white card stock and 1x from white glitter cardstock and then adhered all the layers together with liquid glue to create a chipboard effect. I added the hill and the merry to the card and then adhered my images. Two of the critters were popped up using foam squares to create dimension. To finish the card I added some shimmer pen to some of the elements.
I really hope you enjoyed this one and maybe you will #getcrackingonchristmas with me!!
Thank you for stopping by and have a great day!
– Julia
Products used / Produktliste:
Strathmore Bristol Smooth Cardstock
Neenah – Solar White 80lb
Lawn Fawn Cardstock – Ballet Slippers, Pixie Dust
Crafters Companion – Gemini Junior
Brother – Scan’n’Cut CM300
Hello Bluebird – Christmas is Coming
Hello Bluebird – O Christmas Tree
Hello Bluebird – Grassy Knoll Dies
Hello Bluebird – Stitched Tag Builder Dies
Hello Bluebird – Winter Woods Overlay Die
Hello Bluebird – Christmas Word #1 Dies
Lawn Fawn – Outside In Stitched Rectangle Stackables
Gina K – Amalgam Ink Black
Versamark
WOW Embossing Powder – Opaque Bright White Super Fine
Distress Oxide Ink – Spun Sugar, Worn Lipstick, Seedless Preserves, Black Soot
Copic Markers – Colors can be seen in the video
Dr. PH Martins – Bleedproof White
Tsukineko – Shimmer Spritz
Nuvo – Aqua Shimmer Pen
Nuvo – Deluxe Adhesive
Scor Tape
Leave a Reply