Hello crafty friends!
I hope you are doing well! I shared a glittery winter card a little while ago and I still had the ink-blended sentiment frame left over. So I just had to make a quick second card for Moni’s Bastelkiste!!
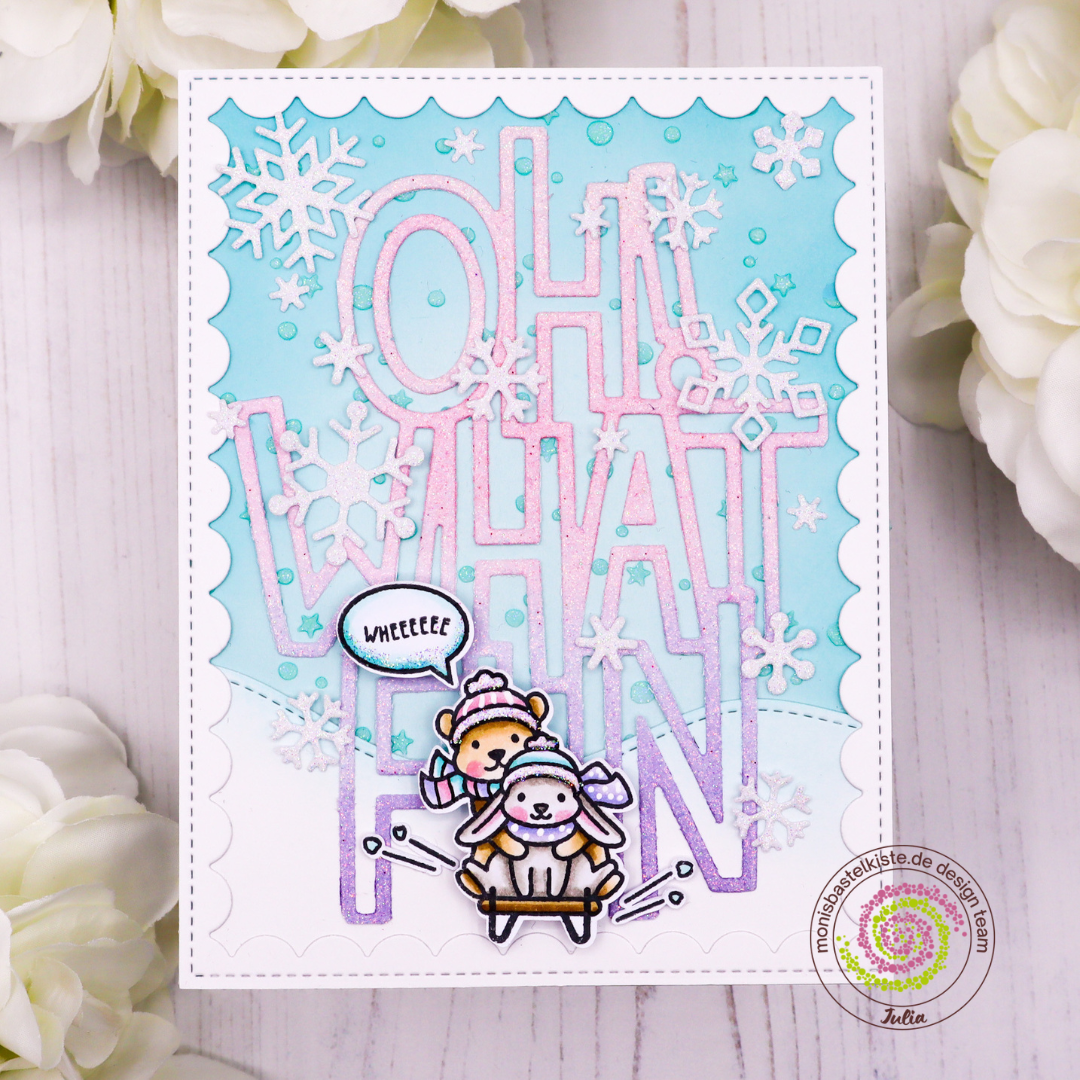
I stamped the images on marker paper and cut them out using my Brother Scan’n’Cut DX. Then, I colored them using Copic markers. Once I finished coloring, I die-cut the frame and used the leftover Giant Outline Oh What Fun outline. That one I die cut out of Pixie Dust glitter cardstock and ink-blended it with pink and purple dye inks! I ink-blended the background with Salvaged Patina and added glittery snowfall on top using the Snow Flurries Stencil as well as Fairy Dust Stencil Paste.
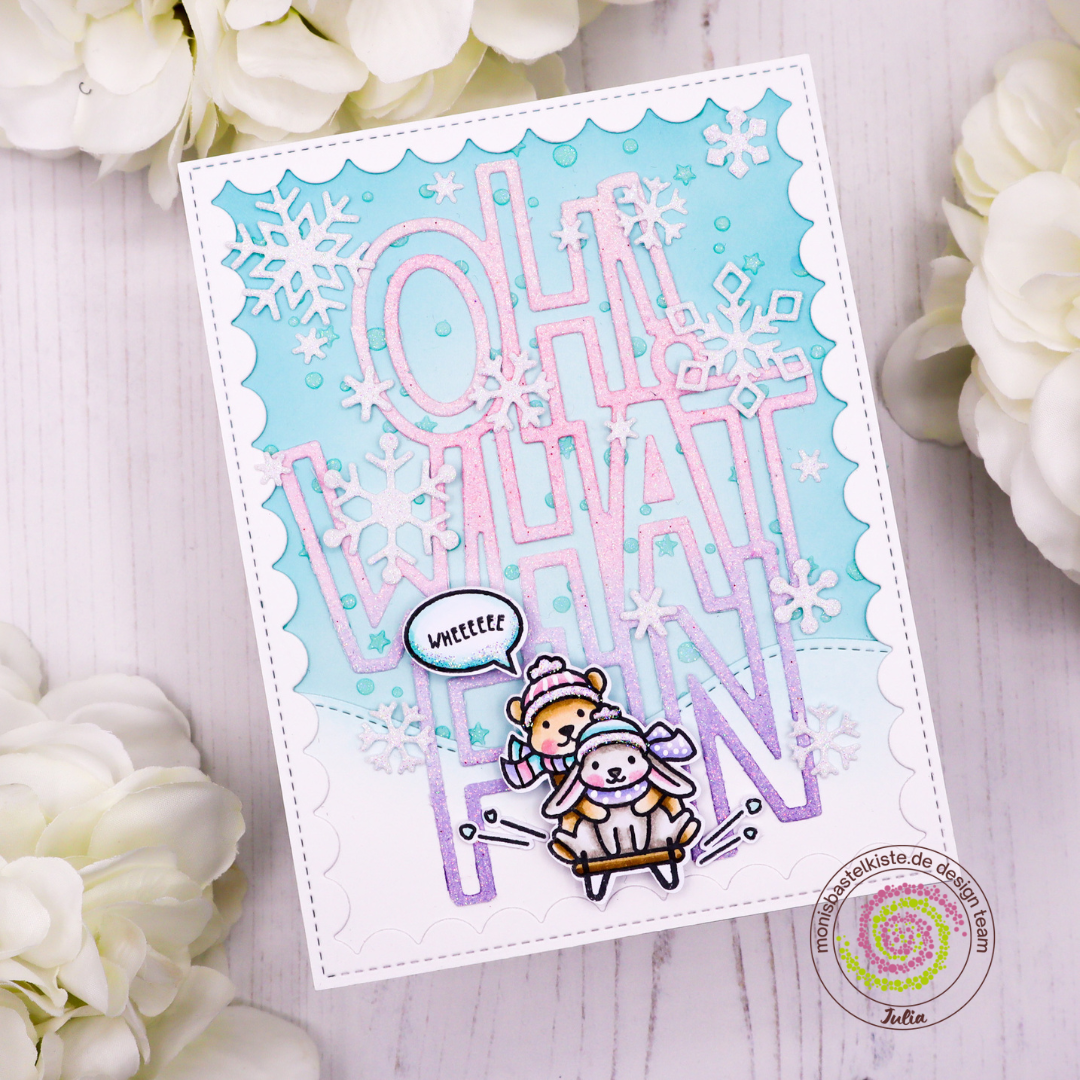
Then, It was already time to assemble my card. I adhered the background to an A2-sized card base, added the frame on top, and then adhered the glittery sentiment outline to the background. After that, I just added those cute sledding critters and lots of sparkly snowflakes! I loved making this card and I hope you enjoyed it as well!
You can watch the full tutorial down below:
Wishing you a wonderful day – until next time!
crafty hugs,

Products used:
Lawn Fawn Snow One Like You
Lawn Fawn Ugly and Bright (Speech Bubble)
Lawn Fawn Giant Outline Oh What Fun
Lawn Fawn Reverse Stitched Scalloped Rectangle Window
Lawn Fawn Mini Snowflakes
Lawn Fawn Snow Flurries Stencil
Lawn Fawn Fairy Dust Stencil Paste
Lawn Fawn Pixie Dust Cardstock
Distress Oxide Ink Salvaged Patina
Distress Inks Villainous Potion
Lawn Fawn Inks Ballet Slippers, Raspberry
Copic Markers – E50, E51, E53, E55, E57; W00, W1, W3, W5; RV10, R81, R83; BV000, BV00, BV02; BG0000; BG11, BG13, BG15.
Stickles in Stardust
DISCLAIMER / HINWEIS: AD / Werbung als Design Team Mitglied für Monisbastelkiste.de
Leave a Reply