Hello Crafty Friends!
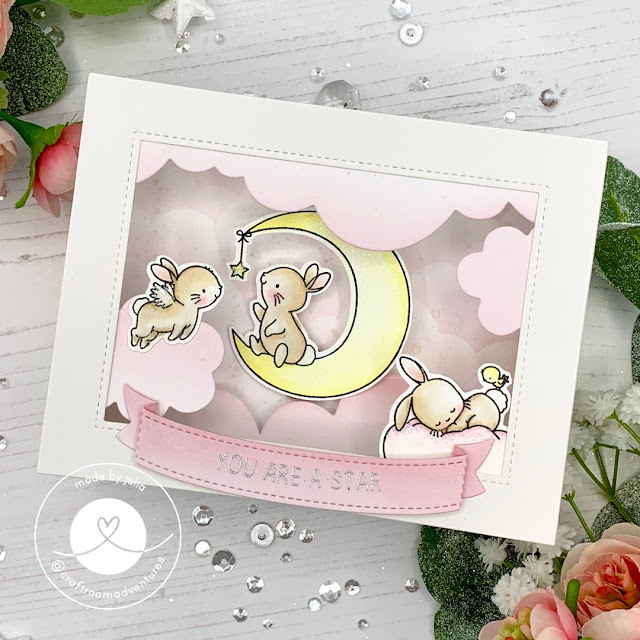
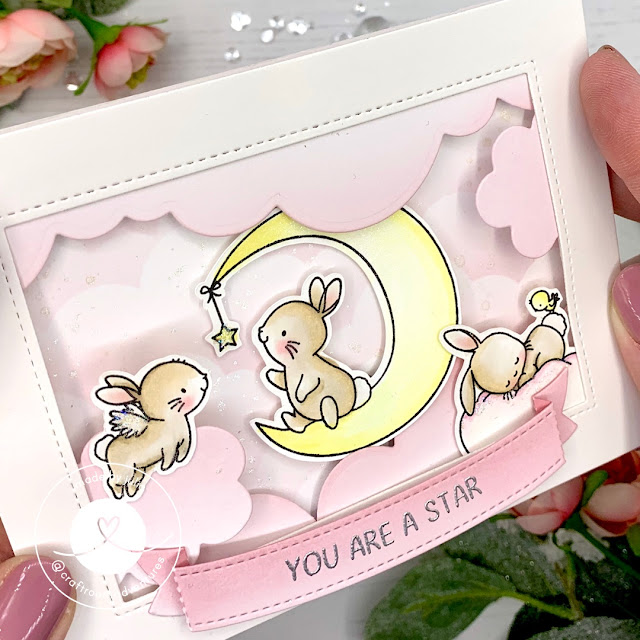
I hope you are doing well! Today I want to share a new #ChallengeACraftyFriend card with you. This time the challenge was: Case an old card into the current style! So I chose one of the first projects I ever made: a Swing Shadow Box using the adorable “Wish Upon a Star” by Mama Elephant. In some ways my card making definitely changed over the course of a year. I did learn a lot! But this card I actually still really liked. So I switched to coloring with copics – back then I used Zigs! I used a super fun Shadow Box Die and just recreated it how I would now. Didn’t turn out that much different but with those adorable bunnies you really can’t go wrong anyways!
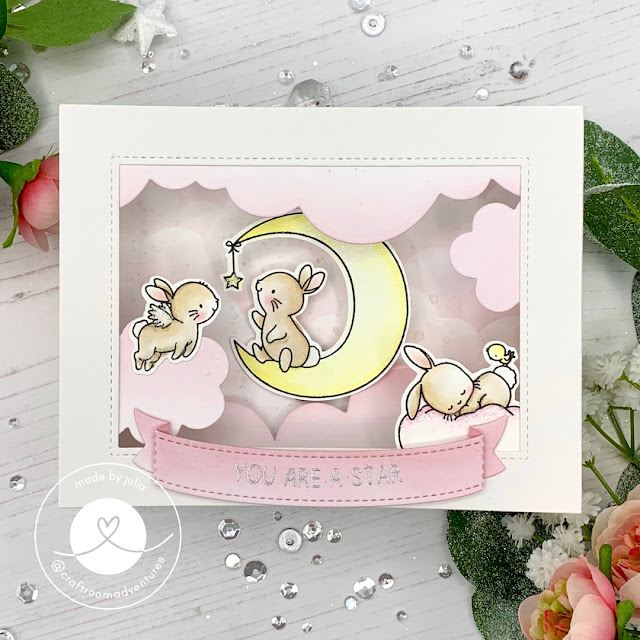
First, I stamped all my images onto Neenah cardstock and colored all of them using Copic markers. Then, they were cut out using the Brother Scan’n’Cut. Since I knew I was making a shadow box card I went ahead and added lots of shimmer pen and some Unicorn Stickles to my Images, since I always find it’s hard to add it at the end with interactive cards!
I die cut the Display a Card twice out of white cardstock and I also die cut two cloud borders and lots of Puffy Clouds (from both the Display a card and the Puffy Clouds die sets). I ink blended a background using a cloud stencil and Victorian Velvet Distress Oxide Ink and I used the same ink to add some shading to the clouds! I added some Liquid Stardust Splatters to the background. Then I also die cut the 3D Arch Banner and ink blended it with Victorian Velvet as well.
I stamped my sentiment from the “Shall we Dance” stamp set onto the banner and heat embossed it in silver.
Then it was time to create my swing mechanism. I adhered the cloud panel to the back of the front for my shadow box. Then, I used a “Spin and Slide Disc” from MFT and added it to the back of the cloud panel. I cut down a strip of thick acetate and used a hole punch to create the opening to go around the dis and added it to the back of the clouds as well. After that, I also die cut a tiny circle and adhered it to the other side of the disc to close the mechanism. Then I added some tape to the bottom of the acetate strip and used that to adhere my moon. This finished the mechanism. I also adhered a penny to the back of my moon to add some weight. Now all that was left to do was close up the card and add the rest of my images and die cuts. I assembled the shadow box with the hill (see video for a detailed look!) and added some cloud die cuts and the other images using liquid glue.
Finally I added the sentiment banner to finish off my swing shadow box card!
I really hope you like it! I really had lots of fun making it!
Thank you for stopping by and have a great day!
– Julia
Products used / Produktliste:
Strathmore Bristol Smooth Cardstock
Neenah – Solar White 80lb
Crafters Companion – Gemini Junior
Brother – Scan’n’Cut CM300
Mama Elephant – Wish Upon A Star
Mama Elephant – Shall We Dance (Sentiment)
Mama Elephant – Display a Card
Hello Bluebird – Grassy Knoll (Clouds)
MFT – Spin & Slide Discs
Gina K – Amalgam Ink Black
Distress Oxide – Victorian Velvet
Copic Markers – Colors can be seen in the video
Nuvo – Aqua Shimmer Pen Glitter Gloss
Stickles – Unicorn
Leave a Reply