Hello!
I am so happy to be back with a new video! Today I want to share this fun interactive slider card with you! I had such a fun time making it and I really hope you like it!
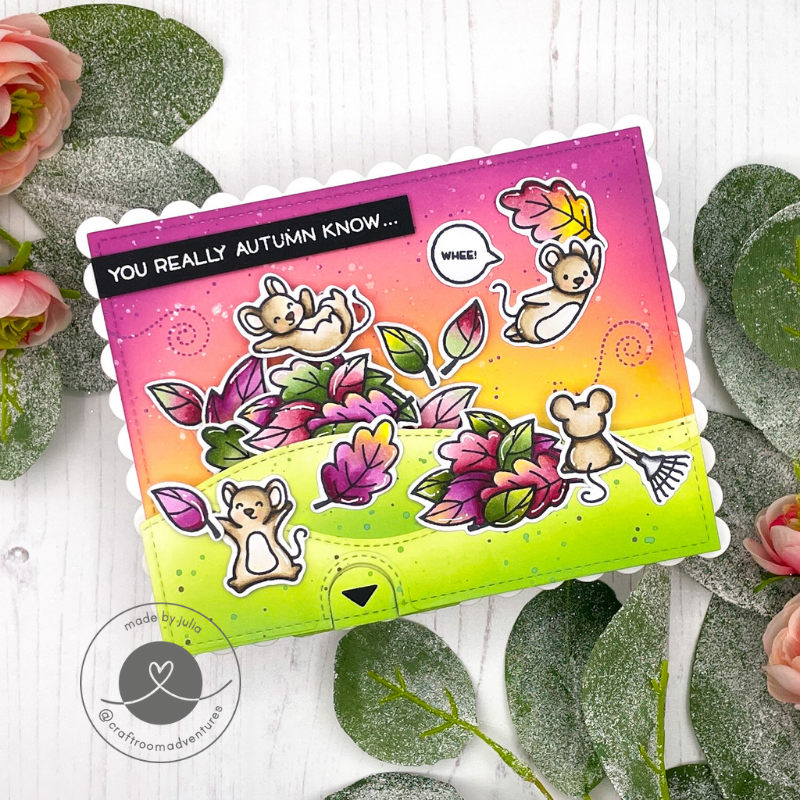
I started by stamping the images and then used my Copic markers to color them in. The colors I used are listed below the post. I cut out all the images with the Brother Scan’n’Cut.
Then I ink blended a stitched background panel and two hills with Distress Oxide inks. I added lots of splatters for more interest.
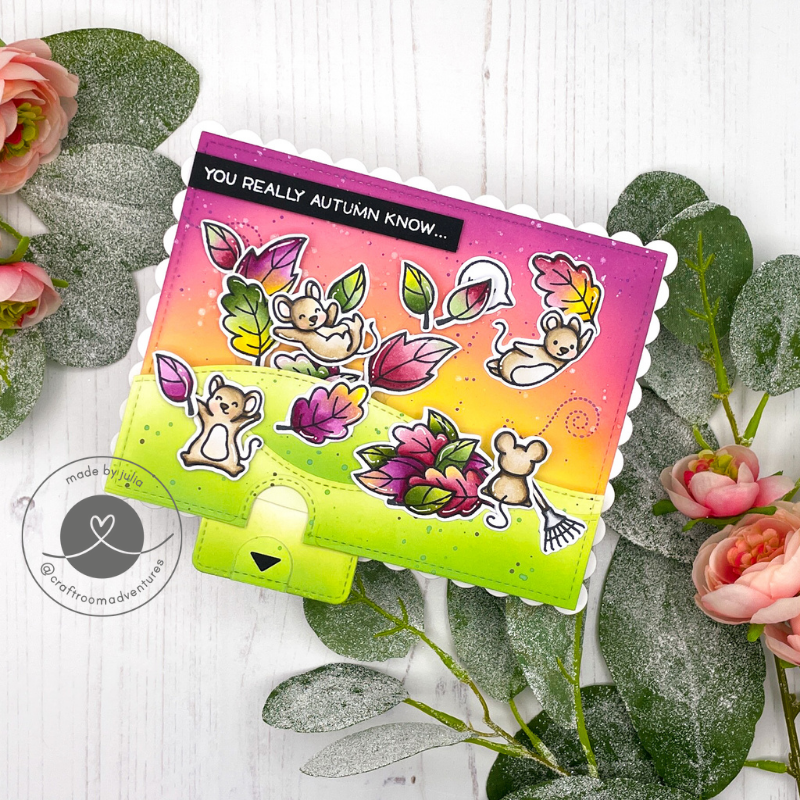
Now for the fun part: the slider! It’s actually super hard to write down exactly what I did and not make it totally confusing, so I will just refer you to the video. I share all the details and show how it comes together. It’s super easy to do (I promise!) and you don’t need any specialty dies! It’s just hard to put into written words. haha.

I added all my adorable little images to the slider action and the rest of the scene. Then, I heat embossed the sentiment for the front of the card in white onto a strip of black cardstock and I added a little mouse on a lead and stamped the second part of my sentiment in black on the inside of the card.
I had sooo much fun making this and just playing with the mechanism! I really hope you like it. Please let me know if you have any questions or suggestions. I would love to hear from you! Until next time!
hugs,

Strathmore Bristol Smooth Cardstock
Transotype Perfect Coloring Paper
Brother Scan’n’Cut CM300
Memento Tuxedo Black Ink
Lawn Fawn You Autumn Know
Lawn Fawn You’re Just My Type
Lawn Fawn Outside In Stitched Rectangles
Lawn Fawn Outside In Stitched Scalloped Rectangles
Lawn Fawn Stitched Hillside Borders
Lawn Fawn Flippy Flappy (for the pull tab)
Lawn Fawn Let’s Toast Pull Tab (for the notch and arrow)
Distress Oxide Inks: Squeezed Lemonade, Dried Marigold, Worn Lipstick, Seedless Preserves, Shabby Shutters, Mowed Lawn, Forest Moss
Copic Markers: 0, N0, N1, N5; E40, E41, E42, E43, E44, E47; YG61, YG63, YG67, BG96; R81, R83, R85, R59; Y11, Y13, Y15, Y17; RV63, RV66, RV69.
Leave a Reply